
Director: Terence Fisher
Release Date: March 1953
This film made very liberal use of recycled footage from, at least, Odd Man Out, It Always Rains on Sunday, Seven Days to Noon, Pool of London and The Lavender Hill Mob, and when I have recognized the footage it is omitted from this entry.
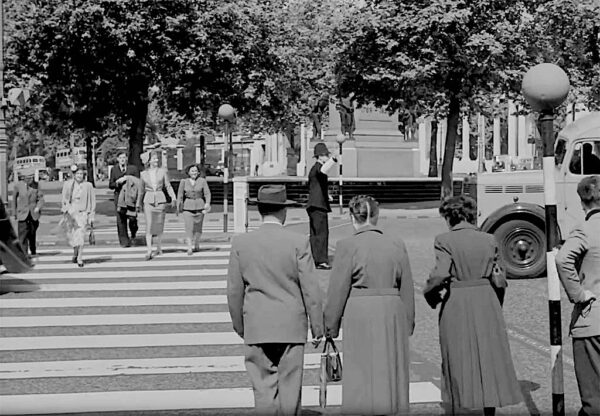
Capture 1
Lois Maxwell crossing Wellington Place with the Wellington Monument and The Screen, at Hyde Park Corner, behind her.

Capture 2
As Maxwell steps out of Green Park she buys a newspaper in Piccadilly.
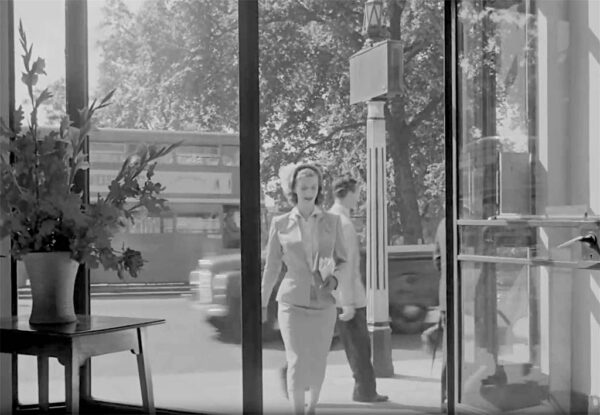
Capture 3
Unidentified. This may be the north side of Piccadilly as Maxwell arrives at her office.

Capture 4
With Lancaster Terrace behind the camera the view is into Gloucester Terrace, as Paul Henreid approaches Maitland Court.

Capture 5
Maitland Court, dressed as HARCOURT, as Maxwell spots Henreid sitting in his car.
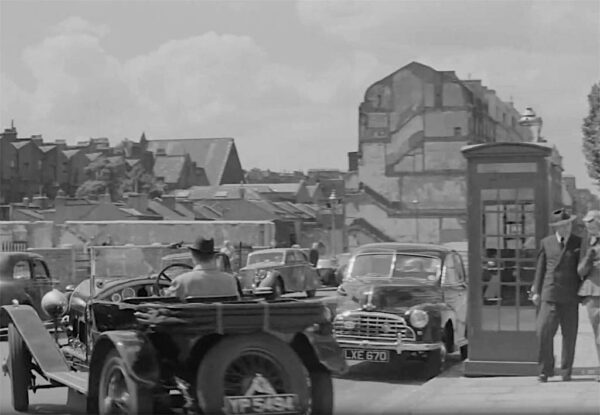
Capture 6
More of Gloucester Terrace as Henreid drives north from Maitland Court.
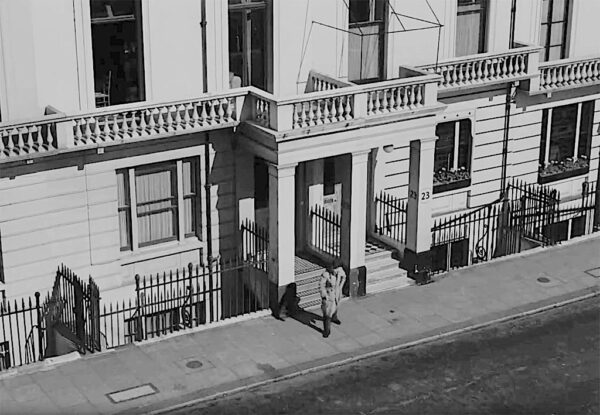
Capture 7
23 Lancaster Terrace presented as the view from Maxwell's Maitland Court flat.

Capture 8
Unidentified. I think this is unrecognized recycle footage.

Capture 9
Unidentified. I think this is unrecognized recycle footage.

Capture 10
Facing the west side of Gloucester Terrace as Henreid approaches the forecourt at Maitland Court.
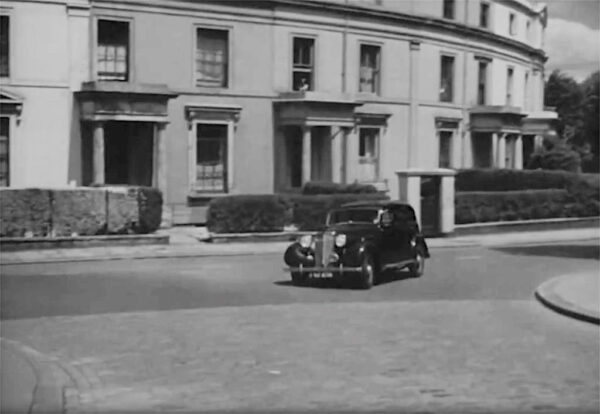
Capture 11
A police car exiting Blomfield Road into Westbourne Terrace Road Bridge.

Capture 12
Policeman Lloyd Lamble on Westbourne Terrace Road Bridge at Blomfield Road.

Capture 13
The Mall viewed from the Queen Victoria Memorial. However, this appears to be recycle footage from a yet unidentified film.
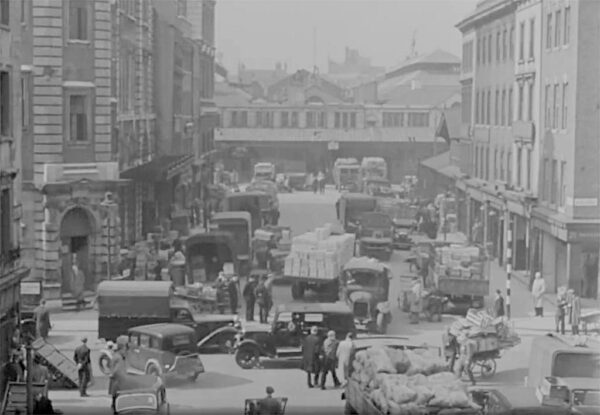
Capture 14
With Wellington Street to the left and Bow Street to the right, the view is along Russell Street into Covent Garden. However, this appears to be recycle footage from a yet unidentified film.
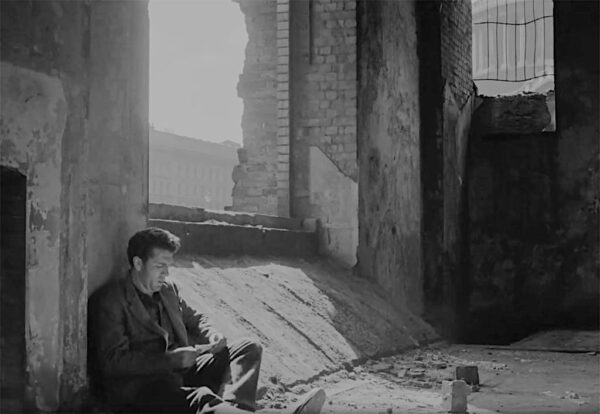
Capture 15
Unidentified. Kieron Moore apparently somewhere close to St. Paul's Cathedral.

Capture 16
The very anonymous market Henreid is walking through is Portobello Road close to Dunworth Mews.

Capture 17
Henreid in Dunworth Mews while Tip Top was at 219 Portobello Road.

Capture 18
More of Dunworth Mews.

Capture 19
Maxwell and Henreid walking in what must be Hyde Park.

Capture 20
Unidentified. Moore presumably somewhere in The City.
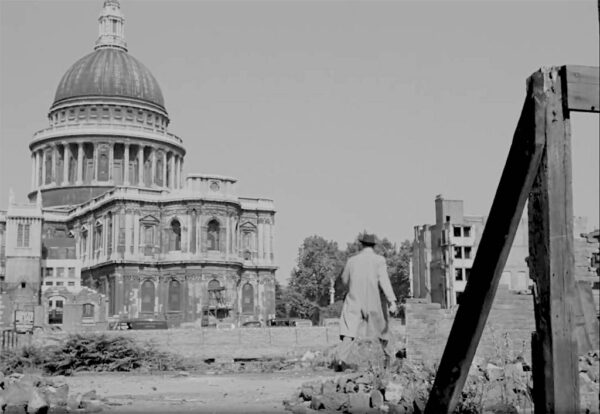
Capture 21
With Bread Street behind the camera the view is towards Friday Street as Henreid looks for Moore.
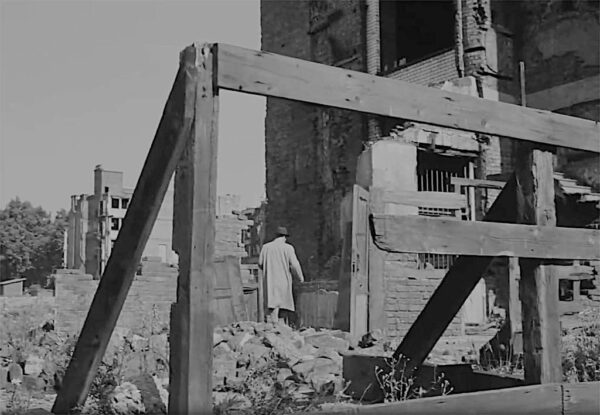
Capture 22
Henreid approaching the ruin of 10, 11 and 12 Bread Street, with the view west towards Friday Street.

Capture 23
Moore in Bread Street where the ruin, on the east side of the street is also on the corner, to the right, of Watling Street.

Capture 24
The view from Henreid's car, outside 10, 11 and 12 Bread Street, north to Cheapside where the Milk Bar was at No. 118 and Milk Street is just out of frame to the right.
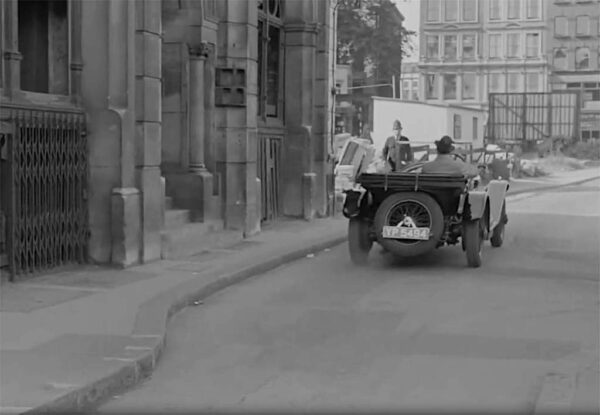
Capture 25
Bread Street, with Cheapside in the distance, as Henreid pulls away from Nos. 10, 11 and 12.

Capture 26
Liam Gaffney exiting St. John's Wood Station approaching Finchley Road.
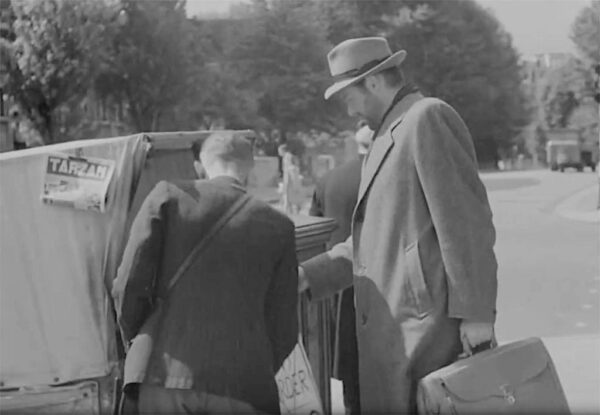
Capture 27
Not much to see here as Gaffney buys a paper, but the view is across Finchley Road into Grove End Road.

Capture 28
As Gaffney reads his paper the view is across Acacia Road and south, to the left, into Wellington Road.

Capture 29
Hugh Sinclair leaving Kings House, 36-37 King Street with Trump Street to the right..
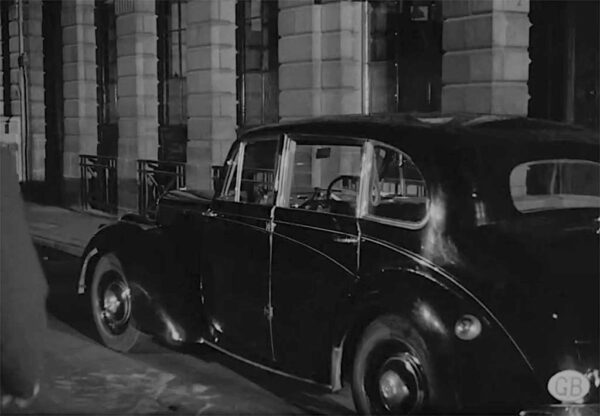
Capture 30
When Sinclair approaches his car it is parked outside 3-7 King Street.

Capture 31
As a chase begins the view is north along King Street, with Trump Street in the left foreground, and Guildhall in the distance.

Capture 32
Facing south along Bread Street towards Watling Street, running left to right, with Cannon Street in the distance.
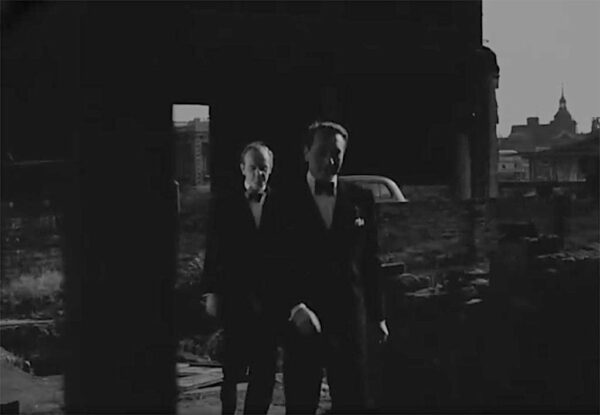
Capture 33
Unidentified. I presume that Lambert and Henreid are in the Bread Street area.