
Director: Basil Dearden
Release Date: April 1960
On 22 November 1959 the Weekly Dispatch (London) reported that ‘This week has seen the first shot in what might be an inspiriting revolution in the British film industry. In a garage in Cromwell-road they started shooting League of Gentlemen. It was cold, draughty, and one of its stars, Richard Attenborough, had tonsillitis. The director was shouting briskly. It looked like any other movie in the making.’ The ‘revolution’ part of this production was its being financed by a group of filmmakers inlcuding Jack Hawkins, Attenborough, Basil Dearden and Bryan Forbes while the garage in Cromwell Road was presumably Attenborough’s workshop in Queen’s Gate Place Mews. The Daily News, 23 November, added that Attenborough had been spotted working on the film in Eastcheap when ‘Street scenes were being shot for the picture yesterday.’ On the 3 March 1960 the Middlesex Advertiser and County Gazette noted ‘Police had to guide traffic through Vine-street, Uxbridge, for a half-hour on Thursday afternoon [25 February] while a unit from Pinewood Studios made a single street scene shot for the film “League of Gentlemen,” which stars Jack Hawkins. The film is about a daring bank raid and the Vine-street shot was taken outside the Halifax Building Society offices “because it could easily be a scene in Mincing-lane in the City” said a member of the film unit. The scene will show boy actor Martin Mileham playing with a ball outside the office and taking the number of a large American which is used in the bank raid. Director Basil Dearden spent half an hour directing the boy and the scene while the American car was parked by the side of the “No Parking” pole at the top of Vine-street.’ While the American car has nothing to do with the robbery the report continued ‘While police directed the traffic office girls on the first floor off the Halifax building looked out watching the film men shooting the scene.’
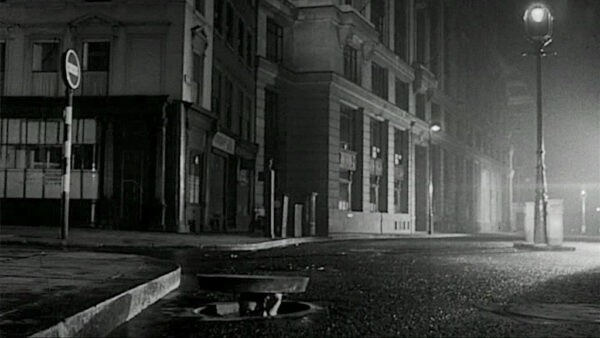
Capture 1
The view east along Eastcheap, with Rood Lane off to the left, as Jack Hawkins, on a recce while planning a bank robbery, lifts a manhole cover.
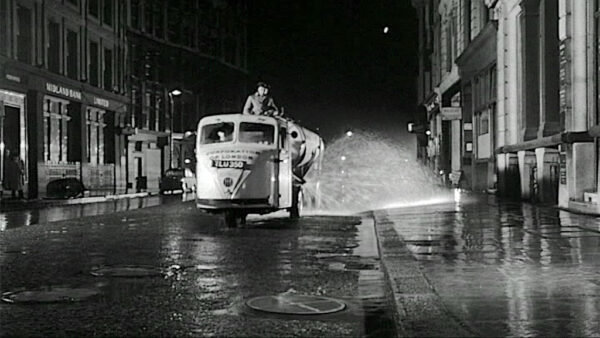
Capture 2
Hawkins pops back in as the street cleaner approaches. The view is west along Eastcheap with Lovat Lane the next on the left.
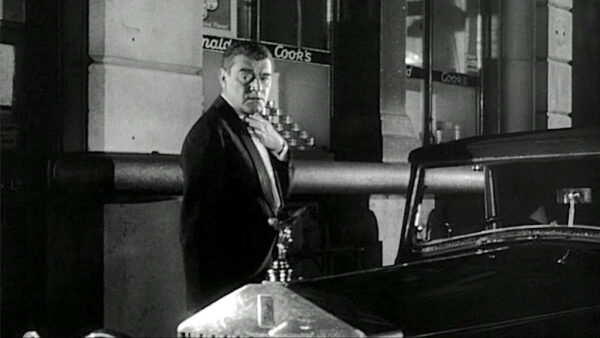
Capture 3
On the north side of the street Hawkins approaches his car parked outside 41 Eastcheap on the corner of Rood Lane.
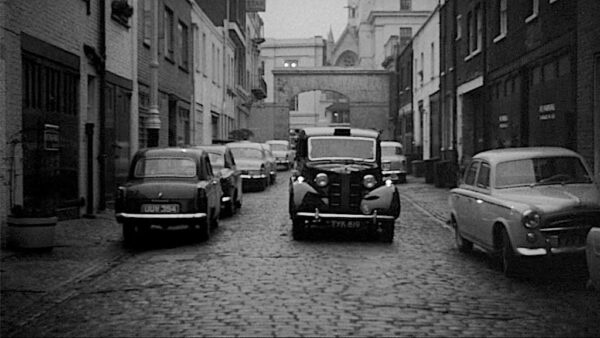
Capture 4
With the nameboard of the 'Star Tavern' at the top of the frame the view is along Belgrave Mews West, with Halkin Place and West Halkin Street in the distance, as Bryan Forbes' taxi arrives.

Capture 5
Forbes intering his home in Belgrave Mews West.
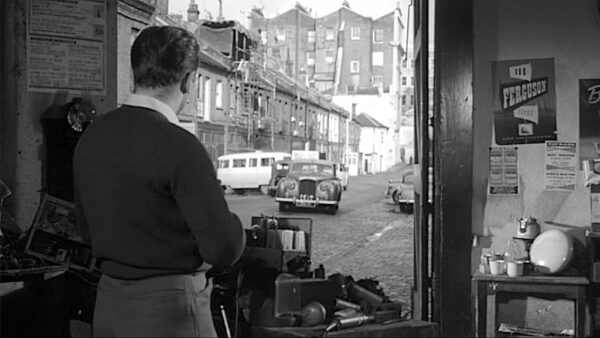
Capture 6
Richard Attenborough looks out of his workshop in Queen's Gate Place Mews as Patrick Wymark drives up. The view is north towards Queen's Gate Place.
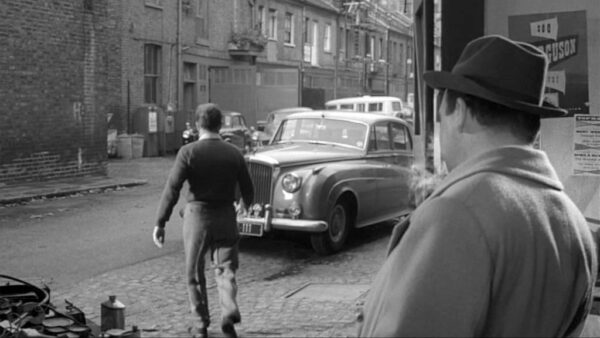
Capture 7
Wymark looks on as Attenbourgh goes to his car. The wall at left is now the front of 28 Queen's Gate Place Mews.
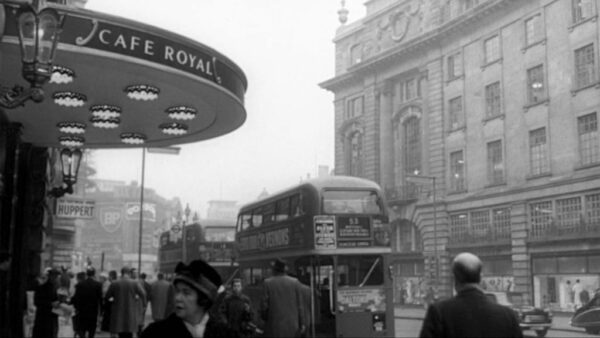
Capture 8
By this stage Hawkins has contacted numerous ex-soldiers to join his 'League', including Forbes and Attenborough, and invited them to the Cafe Royal, Regent Street.

Capture 9
Hawkins, who has traded in his Rolls Royce, following Nigel Patrick another 'League' member who has just passed the tobacconist at 10 Pont Street. The view is to the west with Cadogan Lane behind Patrick and Cadogan Place in the distance.
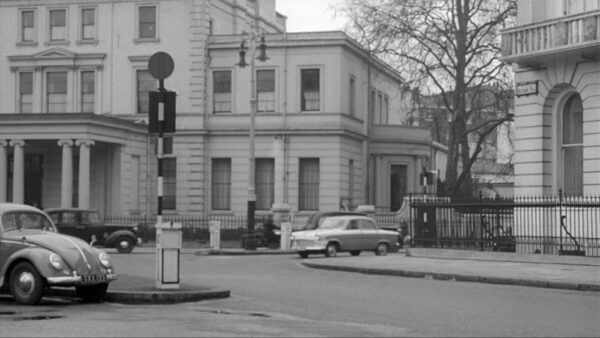
Capture 10
Hawkins and Patrick exiting Chesham Place into Belgrave Square.
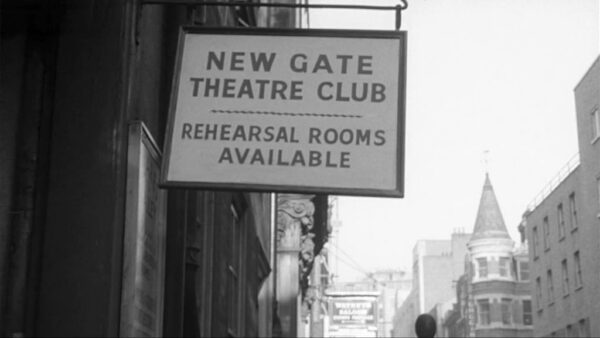
Capture 11
The second 'League' meeting takes place in Dean Street. The view is to the north where the conical tower is on the corner of Carlisle Street.
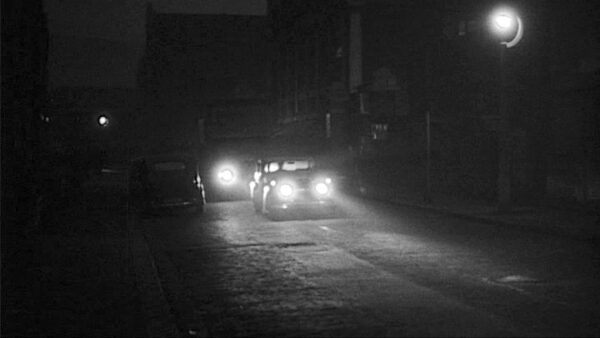
Capture 12
League members approaching their workshop in Townmead Road, Fulham. They are probably pulling into Townmead Wharf while Ismailia Road is off to the left and Fulham Power Station in the distance.

Capture 13
The view from about Ismailia Road, across Townmead Road, as they set out for the robbery.

Capture 14
Townmead Road, with Ismailia Road to the right. Harrison & Rogers were at Swedish Wharf while Wandsworth Bridge Road is at the next junction.

Capture 15
The lorry heads south on Wandsworth Bridge.

Capture 16
As the lorry passes the view downstream from Wandsworth Bridge includes Fulham Power Station.
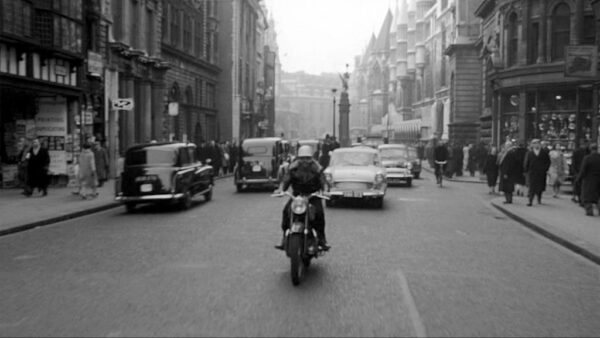
Capture 17
Forbes, well his stand-in,, leads other league members along Fleet Street where Chancery Lane is to the right.
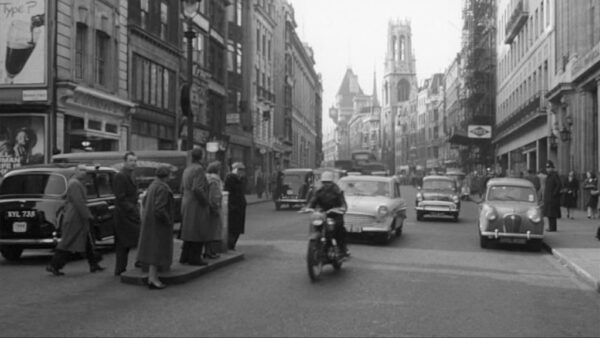
Capture 18
More of Fleet Street with Bouverie Street to the left.
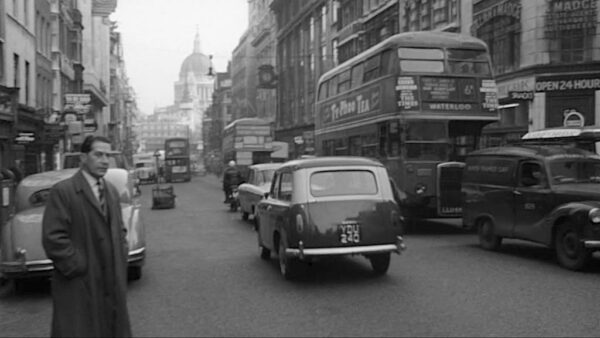
Capture 19
The other direction along Fleet Street, as the convoy passes, with Whitefriars Street to the right at the NO ENTRY sign.
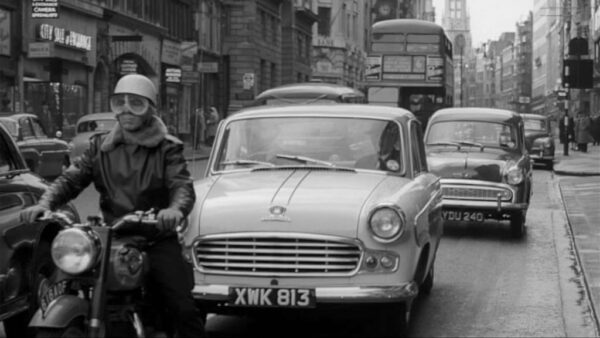
Capture 20
The convoy pulls up in Fleet Street where the bus stop is at St. Bride's Avenue and the Bank at Salisbury Court.
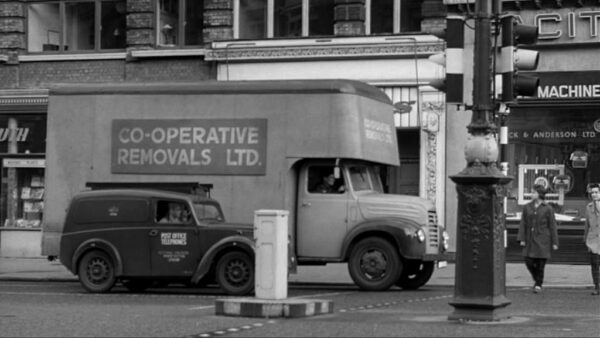
Capture 21
The lorry waits in Farringdon Street at the traffic light at Ludgate Circus.
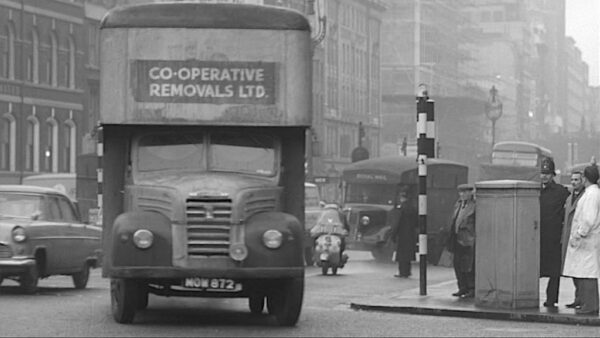
Capture 22
The view from Ludgate Circus as the lorry exits Farringdon Street.

Capture 23
The lorry waits on Ludgate Hill as the convoy crosses Ludgate Circus.

Capture 24
Ludgate Hill and view into Ludgate Circus and Fleet Street.
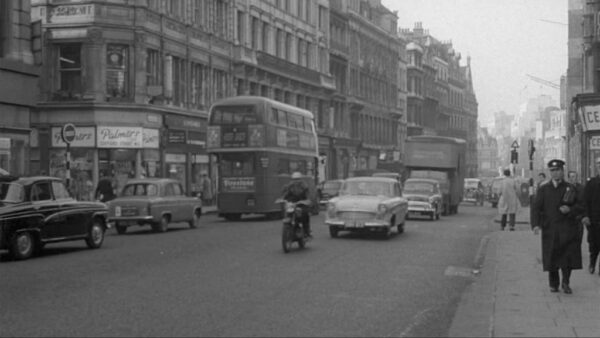
Capture 25
The convoy, now including the lorry, on Ludgate Hill where the NO ENTRY sign, at left, is at Creed Lane.
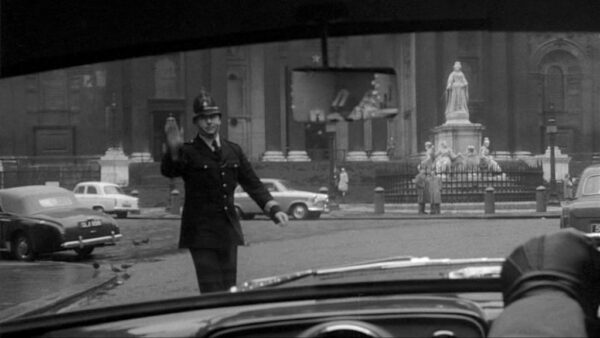
Capture 26
When the convoy is stopped in Ludgate Hill it affords a view of the forecourt to St. Paul's Cathedral.

Capture 27
As a policeman holds up the convoy the boy crosses where Bateman is at 1a St. Paul's Churchyard and Finlays at 1 Ludgate Hill.

Capture 28
St. Paul's Churchyard with Dean's Court off to the right.

Capture 29
St. Paul's Churchyard and the view back into Ludgate Hill.
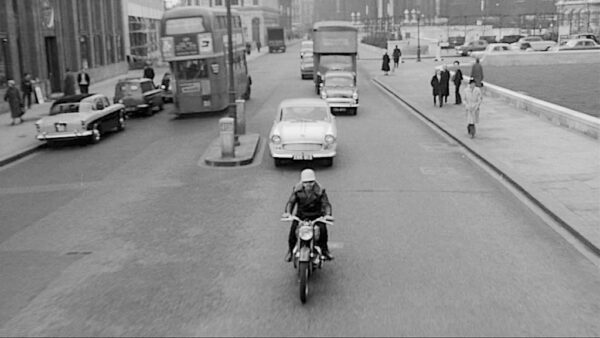
Capture 30
Cannon Street with Bracken House to the left and New Change beyond the lawn.
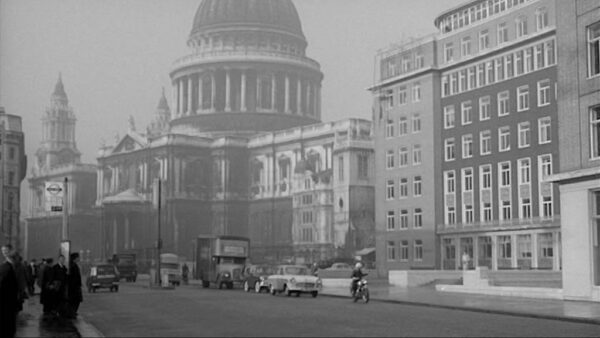
Capture 31
They continue east along Cannon Street approaching Bread Street. I believe that the building to the right may have been named Gateway House.

Capture 32
Exiting Cannon Street north into Bread Street.
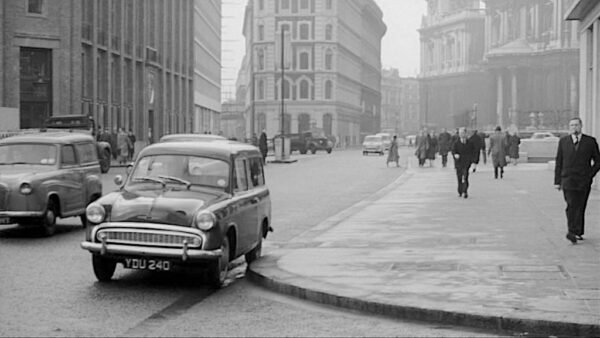
Capture 33
Attenborough waits in Cannon Street, at the corner of Bread Street, where Bracken House is to the left, then the opening into Carter Lane and the view into St. Paul's Churchyard.
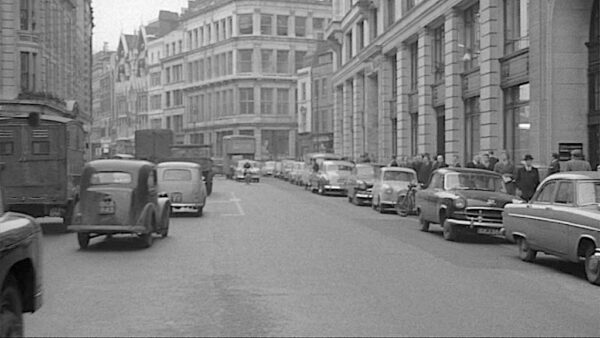
Capture 34
The view west along Eastcheap as the convoy arrives. To the right is No. 53, Millocrat House, the target of their robbery.

Capture 35
Eastcheap preparing to turn left into Mincing Lane.
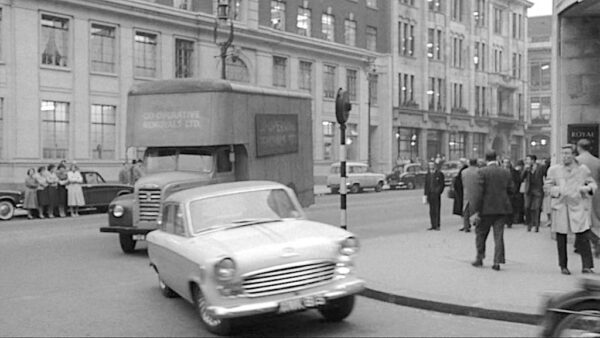
Capture 36
The view from Mincing Lane, into Eastcheap, as they arrive at their destination. Oddly what appears to be the south side of Eastcheap was actually Great Tower Street east of Idol Lane.

Capture 37
Attenborough sits in Cannon Street awaitng the arrival of the van carrying money en route to the bank. Bracken House, at left, is on the corner of Friday Street.
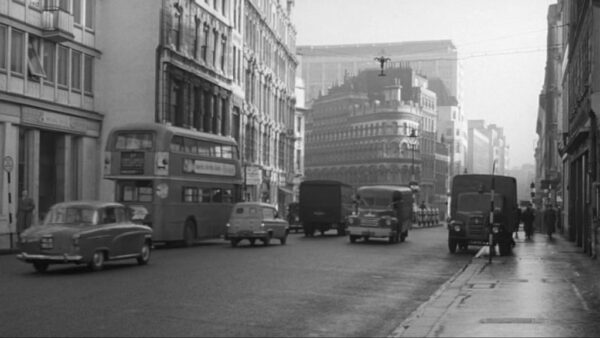
Capture 38
Facing east along Cannon Street as the security van comes into view. At the junction Queen Victoria Street runs left to right.

Capture 39
Attenborough looks on in Cannon Street as the van enters Bread Street on the left.
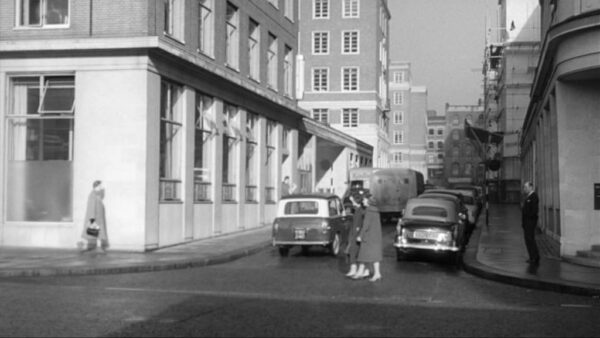
Capture 40
As the van leads the way Attenborough follows north into Bread Street.

Capture 41
Presented as being at the robbery site but the boy is outside the Halifax office in Vine Street, Uxbridge.

Capture 42
More of Vine Street and the business next door to the Halifax.

Capture 43
The security van arrives in Eastcheap having just passed Rood Lane on the right.
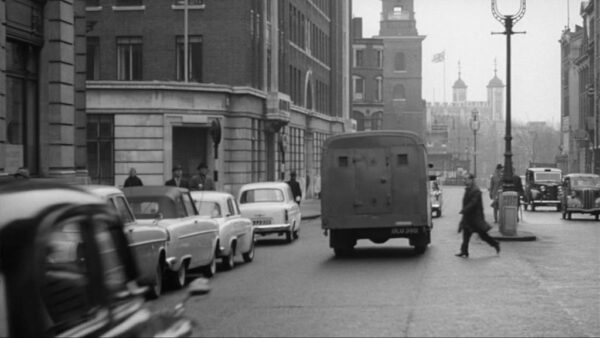
Capture 44
After dropping off the money the security van heads east along Eastcheap approaching the corner of Mincing Lane with Great Tower Street dead ahead.
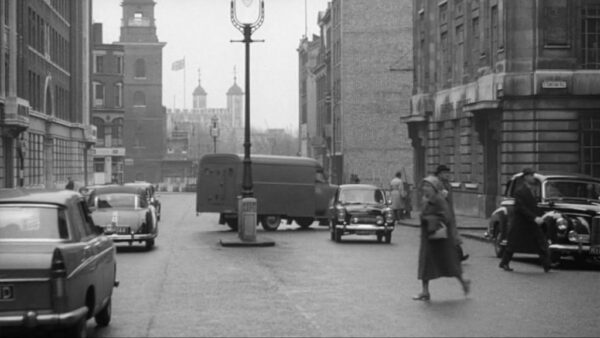
Capture 45
The van turning right out of Eastcheap while approaching St. Dunstan's Hill.